It’s easy to make friends with this easy, awesome tasting biscuit recipe. You biscuits in all manner of meals. Serve them alone as a breakfast side, pile them up into the perfect breakfast sandwich, ladle them with gravy for a wholesome entree, or top them with whipped cream and strawberries for a decadent dessert!
Buttermilk Biscuit Recipe Ingredients
4 cups ALL PURPOSE FLOUR
1 Tbsp BAKING POWDER
1 tsp BAKING SODA
1 tsp SALT
1 Tbsp SUGAR
1 cup BUTTER (diced, chilled)
1½ cups BUTTERMILK (chilled)
(plus buttermilk for brushing biscuit tops)
Buttermilk Biscuit Recipe Directions
In a bowl, combine flour, baking powder, baking soda, salt, and sugar (optional). Mix ingredients together well. Add diced butter. For best results use chilled butter –keep the diced butter in the refrigerator until needed. Cut butter into the flour using a pastry cutter or knives. Check here for current prices for a pastry cutter on Amazon.
Butter should be cut into pea-sized bits, but there’s no reason to be militant about it…nice chunks of butter are nice. Once the butter is cut into the flour, add buttermilk. Keep the buttermilk chilled until you are ready to use it–cold butter and buttermilk are best for this recipe.
Pour the buttermilk into the bowl, and using a spatula (or your hand), roll the flour around the edge of the bowl until the buttermilk is absorbed and the dry flour begins sticking together. Roll until there is very little loose flour…add a drop more buttermilk if needed, but do so sparingly–you don’t want the flour to be “wet”.
On a lightly floured surface, empty the bowl and press the flour together, knead once or twice and then spread the dough out into a flat, ½ inch thickness. Do not knead or “handle” the dough too much.
Flour the edges of a biscuit cutter or drinking glass and cut out biscuits. I like my buttermilk biscuit about 2″-3″ across, but make whatever size you like. Giant biscuits can be fun :^) Cut the biscuits closely and get as many out of the first press as you can. Once all of the biscuits are cut from the first press, bring the dough together again and cut out remaining biscuits–again trying to handle the dough as little as possible.
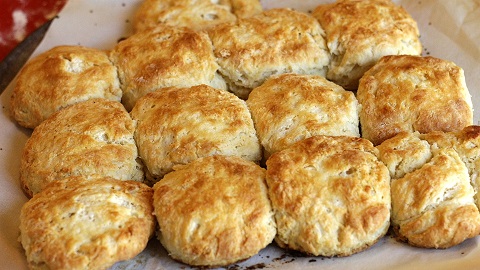
Arrange the biscuits touching side by side on a lightly greased pan or on parchment paper. Lightly brush the tops of the biscuits with buttermilk or melted butter–this will help them to brown nicely. Place biscuits in the oven and bake at 425 degrees Fahrenheit for approximately 15 minutes, or until biscuits are golden brown to your liking.
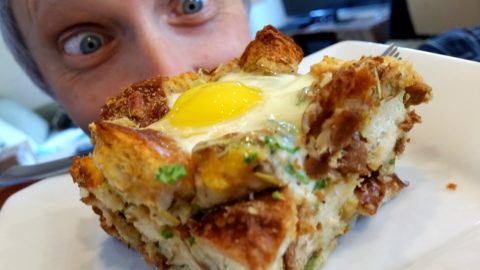
Give these biscuit recipes a try and let me know what you think, and for another breakfast bread dish, try this Egg Bread Recipe.
Thanks for checking out our biscuit recipe, and all of our recipes. Be sure and sign up for our mailing list and never miss a new Chef Buck cooking video, and also click a button below and share the dishes with your friends. We appreciate all the kind comments and support, and we’ll see you next time in the kitchen!
–Chef Buck
Thanks for watching our recipe videos!
We include affiliate links for products on our website, so if you make a purchase after clicking on our links, we may earn a commission which helps us produce more videos and drink more coffee :^) We participate in the Amazon Services LLC Associates Program, which is an affiliate advertising program providing a means for us to earn fees by linking to Amazon.com and affiliated sites, so we can make more videos.
