Ginger Chicken Recipe Chinese Restaurant Style

Ginger Chicken

This Ginger Chicken Recipe will remind you of a delicious dish from your favorite Chinese restaurant. The key to a tasty ginger chicken dish is fresh ginger, and lots of it. You won’t need hard to find ingredients, just a little soy sauce, sesame oil, and some fresh produce will make all of the difference.

What You Need To Make This Ginger Chicken Recipe

1 lbs. CHICKEN
1 Tbsp CORN STARCH
1 Tbsp SESAME OIL
1 Tbsp SOY SAUCE
SALT and PEPPER (to taste)
4-6 cloves GARLIC
½ cup GINGER
½ cup ONION
½ to 1 cup CARROTS
½ to 1 cup CASHEWS
1 cup chopped Zucchini or other veggies (optional)
some OIL for sauteing
HOT PEPPER (optional)

Sauce Ingredients:
1 Tbsp SESAME OIL
2 Tbsp SOY SAUCE
2 Tbsp RICE VINEGAR
2-3 Tbsp JAM (or substitute sugar)
1 Tbsp CORN STARCH
½ to 1 cup WATER
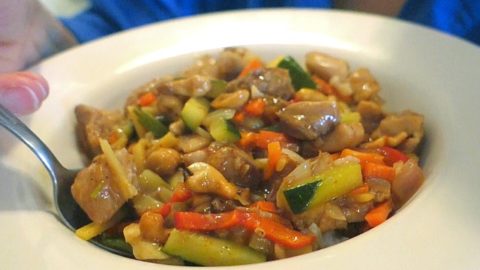
Ginger Chicken
Best Ginger Chicken Recipe

How To Make Ginger Chicken

  • Use skinless and boneless white or dark meat chicken, whichever you prefer.
  • Chop chicken into bite-sized pieces and place into a bowl.
  • Add 1 Tbsp sesame oil, 1 Tbsp soy sauce, 1 Tbsp corn starch, and salt and pepper to taste.
    Mix well with the chicken and then set the bowl aside.
  • In another bowl, combine sauce ingredients and set aside.
  • Prepare the veggies; this dish will cook fast, so have all the veggies chopped before beginning to cook the chicken.
  • Chop fresh ginger into matchstick sizes; fresh ginger and lots of it make this recipe delicious,so don’t be shy with the ginger.
  • Cut carrots into matchstick sizes.
  • Finely chop the garlic.
  • Chop onions (I prefer green onions if I have them on hand, but any onion will work.
  • Chop hot pepper if desired; the fresh ginger will add a bit of bite to the dish,
    so skip the pepper if you prefer a milder recipe.
  • Heat a skillet and oil on medium high heat. Add chicken and cook, stirring occasionally for 5 minutes, and adjust heat as needed. If you need a nice skillet, you can check current prices for a NON-STICK SKILLET on Amazon.
  • After 5 minutes, add onion, garlic, ginger, and hot peppers.
  • Cook another 5 minutes, then add carrots and any other veggies; add sauce and mix well and continue to cook for 5 more minutes.
  • Add more water if desired. The sauce will be thicker or thinner depending on the amount of water added.
  • To finish the dish, stir in cashew nuts and remove from the heat.

And that’s it! Serve over rice.

Give this this super simple and flavorful ginger chicken recipe a try and let me know what you think, and bon appétit!

And for another Chinese favorite, check out this General Tso’s Chicken Recipe.

general tso chicken

Thanks for Watching our Ginger Chicken Recipe

Click a button below and share the dishes with your friends. You can also follow Chef Buck on Youtube. We appreciate all the kind comments and support, and we’ll see you next time in the kitchen!

If you like what CG and I do, support us on Patreon, or throw us a tip in our Paypal Tip Jar. We’ll happily enjoy a coffee on the road – Thanks! We appreciate all the support, and we’ll see you next time in the kitchen!

We include affiliate links for products on our website. Making a purchase after clicking on our links and we may earn a commission which helps us produce more videos and drink more coffee :^) We participate in the Amazon Services LLC Associates Program, which is an affiliate advertising program. It provides a means for us to earn fees by linking to Amazon.com and affiliated sites, so we can make more videos.

If you’re new to home cooking, get a bunch of spices, pots and pans, and start experimenting with different recipes. It’s a healthy hobby that can save a lot of money in the long run. Check out current prices for Complete Kitchenware Sets on Amazon as well as Complete Starter Spice Kits. Or try a thrift store! I’ve found some of my favorite kitchen gear at second-hand stores.
Share and Enjoy !

Edamame Brown Rice Recipe –A Great Vegetarian Dish

edamame

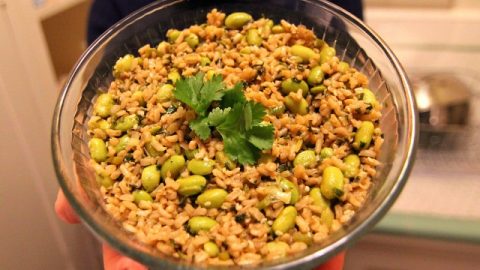
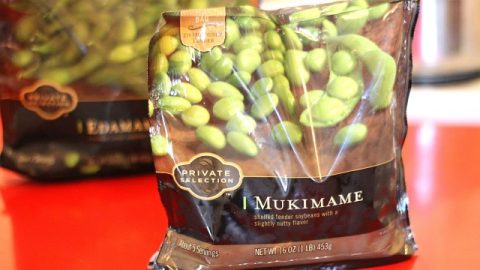
This edamame brown rice recipe is super flavorful, filling, a great side dish, and delicious hot or cold. If you buy frozen soy beans for this dish, make sure they are thawed before using –and shelled!– shelled edamame is called mukimame.

Edamame Brown Rice Recipe

2 inch GINGER, finely chopped
4-5 cloves GARLIC, finely chopped
16 oz bag MUKIMAME (shelled edamame)
¾ cup LONG-GRAIN BROWN RICE
2Tbsp fresh LIME JUICE
2 Tbsp RICE VINEGAR
2 tsp SOY SAUCE
2 tsp SESAME OIL
½-1 tsp SUGAR
3-4 GREEN ONIONS
5 Tbsp CILANTRO, chopped
2 Tbsp SESAME SEEDS, toasted
SALT and PEPPER to taste

edamame
Mukimame with Brown Rice Recipe

How to make Make Edamame with Brown Rice

  • In a saucepan, heat olive oil over medium-high heat. Check current prices for a sauce pan on amazon.
  • Sauté ginger and garlic for 1-2 minutes until fragrant.
  • Remove garlic and ginger from pan and set aside (I’ve tried skipping this step, and just continued cooking the garlic and ginger along with the rice, but it’s not as flavorful, so it’s definitely worth setting the garlic and ginger aside to add to the dish later).
  • In same pan (without rinsing), bring 1½ cups lightly salted water to a boil. Add rice, reduce to a low simmer; cover and cook, 30 minutes.
  • After 30 minutes, stir in thawed, shelled edamame (mukimame!); cover and cook until rice is tender and mukimame is heated through, about 15 to 20 minutes.
  • In a small bowl, combine lime juice, vinegar, soy sauce, sesame oil, and sugar and stir until sugar is dissolved.
  • Remove rice and beans from the stove and add ginger, garlic, lime juice mixture, scallions, cilantro and sesame seeds.
  • Mix well and add additional salt and pepper as desired.


Give this edamame brown rice recipe a try and let me know what you think, and bon appétit!

edamame
Frozen Mukimame (shelled edamame)

And for another great vegetarian dish, try this easy, awesome Quinoa Salad Recipe.

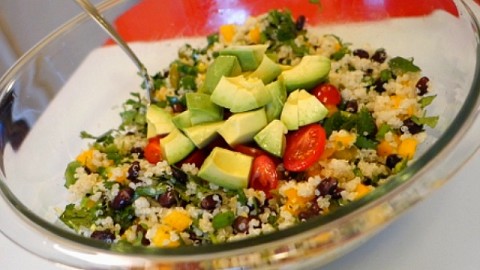
southwestern quinoa salad
a southwestern quinoa salad makes a tasty and healthy dinner choice.

Thanks For Watching Our Recipe Videos!

Thanks for checking out this edamame recipe, and all of our recipes. Be sure and sign up for our mailing list so you’ll never miss a new recipe. Also click a button below and share the dishes with your friends. You can also follow Chef Buck on Youtube. We appreciate all the kind comments and support, and we’ll see you next time in the kitchen!

If you like what CG and I do, you can also support us on Patreon, or throw us a tip in our Paypal Tip Jar. We’ll happily enjoy a coffee on the road – Thanks! We appreciate all the support, and we’ll see you next time in the kitchen!

We include affiliate links for products on our website. So, if you make a purchase after clicking on our links, we may earn a commission which helps us produce more videos and drink more coffee :^) We participate in the Amazon Services LLC Associates Program, which is an affiliate advertising program. It provides a means for us to earn fees by linking to Amazon.com and affiliated sites, so we can make more videos.

Share and Enjoy !

Broccoli Recipe – Best Blue Cheese Broccoli

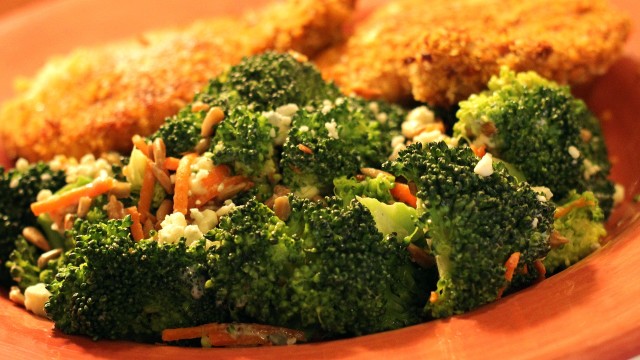
Broccoli with Blue Cheese

Try this super-quick and awesome broccoli recipe. If you like blue cheese then you’ll love this dish, in fact, you’ll actually love broccoli if you only just liked it before …I know, kinda confusing, but trust me, this is a pretty damn tasty broccoli dish–and healthy, too. So make it.

Bad-ass Blue Cheese Broccoli Recipe Ingredients:
5 cups BROCCOLI FLORETS
¼ cup CARROT strings
2-3 oz BLUE CHEESE crumbled
¼ cup SUNFLOWER SEEDS (shelled and toasted)
SALT and PEPPER to taste

Broccoli with Blue Cheese
Broccoli with Blue Cheese Recipe

directions:
Toast the sunflower seeds (already shelled). This can be done quite quickly in a hot pan or skillet. Heat pan or skillet on medium/med-low heat; not too hot or seeds will burn. Add sunflower seeds and spread them into a single layer. Do not use any oil or spray in the pan. Stir the seeds in the skillet for a couple of minutes until they begin to brown, lightly browned is perfect; they’re easy to over-toast, so don’t leave them too long. It will only take 2 minutes on medium heat.
Remove seeds from heat and set aside.

Cover the bottom of a pot with about ¼ inch of water, just enough for steaming the broccoli and carrots. Add The broccoli florets to the pot and top with the carrot strings. Raise the heat, cover the pot, and allow the veggies to steam for approx. 5 minutes; ideally the florets will be cooked through, soft but not soggy!

Turn off the heat and drain any remaining water in the sink. Add salt, pepper, the toasted sunflower seeds, and 2-3 ounces of crumbled blue cheese.
Lightly toss ingredients together and serve while hot.
This dish is super-simple and amazingly delicious –as long as you like blue cheese.
Give this broccoli recipe a try and let me know what you think, and bon appétit!

And for another great veggie dish, try this tasty Beet Greens Recipe.
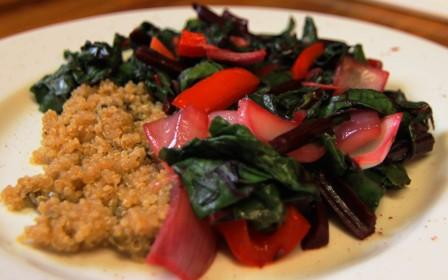
beet greens saute

Share and Enjoy !


Pickled Daikon and Carrot Relish –Vietnamese Style

Vietnamese Pickled Daikon and Carrot Relish

Vietnamese-style pickled daikon and carrot make a handy relish than can be used with salads, sandwiches, and all kinds of recipes. It’s a must have for making a banh mi sandiwich and I use it quite often as a salad topper and also dice it up to add to tuna, chicken, and quinoa salads. Keep a jar of pickled daikon and carrot in your fridge and experiment adding it to some of your favorite dishes.

Pickled Daikon and Carrot Ingredients:
2 cups cut DAIKON
2 Cups Cut CARROT
1-2 tsp SALT
¼ SUGAR
½ cup WATER (hot from tap)
½ cup VINEGAR

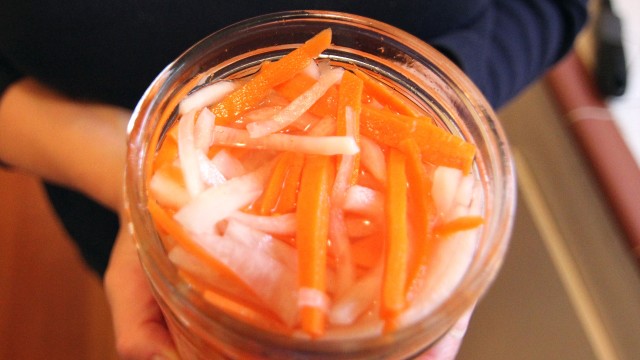
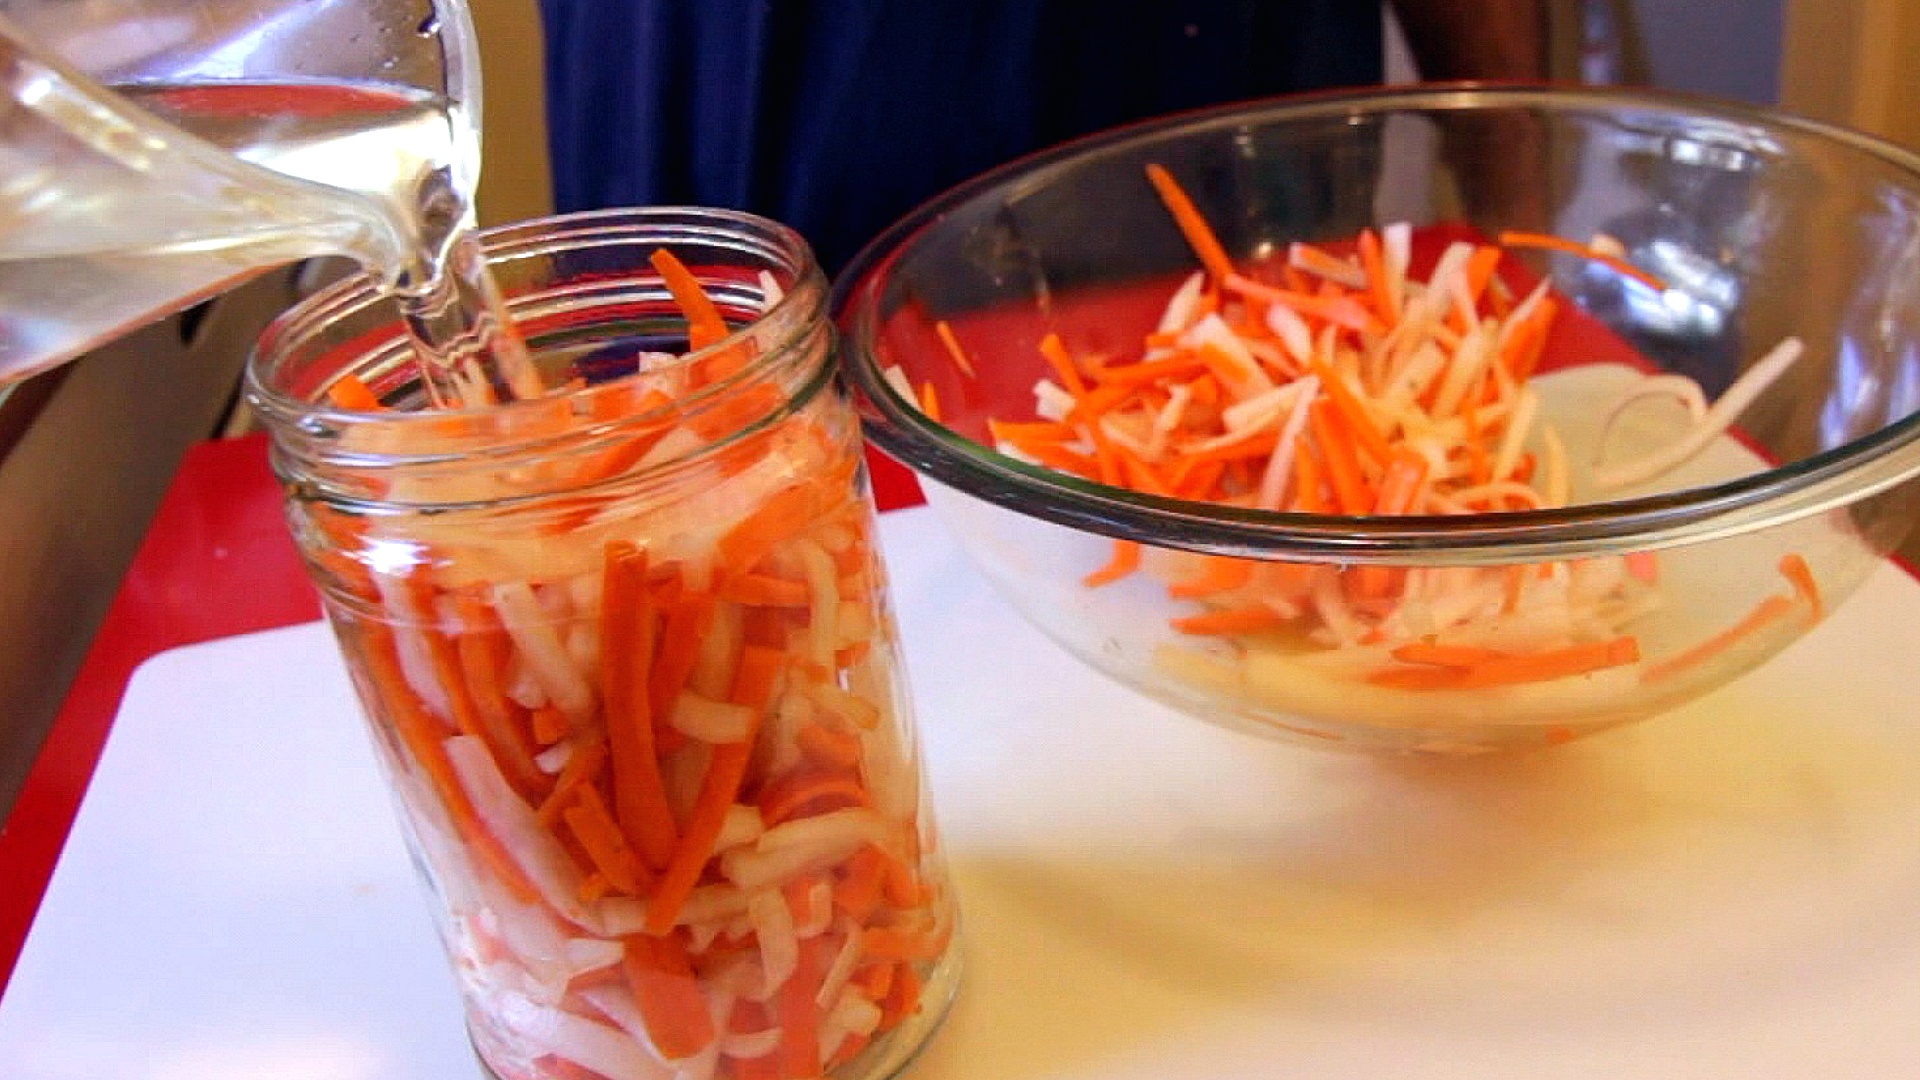
pickled daikon
Pickled daikon and carrot is a tasty and versatile relish to have in the fridge–awesome on sandwiches and salads.

directions:
Daikon is a BIG radish. When buying, choose one that is firm–if the daikon has green tops attached, choose one without wilted leaves, but often the tops are not attached. The skin is thin and can be peeled off with a simple vegetable peeler. The same is true for carrots, although I generally leave the skin on the carrots, but follow your heart. Slice and cut the daikon and carrot into matchstick sizes and place into a bowl. Add salt to the bowl and mix well with the daikon and carrot so that the veggies are coated. This will draw water out of the vegetables and soften them. Set bowl aside.
In a smaller bowl, prepare the pickling solution. Combine warm tap water and sugar. Stir until dissolved and then add the vinegar. And that’s it!
In the larger bowl, the salt will have started drawing moisture from the daikon and carrot matchsticks. When they have softened enough, cram them into a storage container and add the pickling solution.
This pickled combo will keep in your fridge for 2-3 weeks. It’s a must have topping for Vietnamese banh mi sandwiches and works well in all kinds of sandwiches. Use this relish as a topping for salads or chop it up to incorporate in whatever dish you desire (it’s great in a coleslaw or quinoa salad).
Give this pickled daikon and carrot relish a try and let me know what you think, and bon appetit!

And if you wanna see this relish in action, check out this deconstruction of a Banh Mi Sandwich.
bahn mi

Share and Enjoy !


Cook Chinese Eggplant Recipe with General Tso’s Sauce

Chinese Eggplant Recipe with Sweet Sauce

Cook Chinese Eggplant for a terrific vegetarian meal that will not having you missing the meat. For this Chinese eggplant dish, I use a sauce similar to one I use making General Tso’s Chicken, so it’s a rich and filling eggplant dish, hearty and vegetarian at the same time.

ingredients to cook Chinese Eggplant Recipe

1½ lbs CHINESE EGGPLANT
4-6 Tbsp OLIVE OIL
3 cloves GARLIC (finely chopped)
1-2 RED CHILIES (thinly sliced)
½ cup whole CASHEW NUTS
1 bunch GREEN ONIONS
1 Tbsp SESAME OIL
sauce ingredients:
1/3 cup SOY SAUCE
2 Tbsp HOISIN SAUCE
1 tsp SESAME OIL
2 Tbsp RICE VINEGAR
2-3 Tbsp BROWN SUGAR
1 Tbsp GINGER (minced)
2 Tbsp CORN STARCH
1½ cups WATER

cook Chinese Eggplant
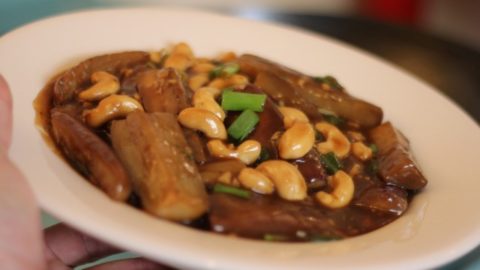
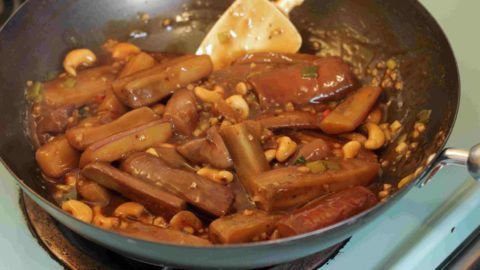
Chinese Eggplant with Cashew Nuts and Sweet Sauce

how to cook Chinese Eggplant Recipe with General Tso’s Sauce

In a small bowl, combine all of the sauce ingredients. The fresh minced ginger is optional, but if you love ginger, why not? I also use 2 heaping Tbsp of brown sugar, but you can use more or less sugar depending on how much sweet you like–but the sweet is good with this recipe. Mix the sauce ingredients well and then set aside.
Cut your Chinese eggplant. You should buy firm eggplant with glossy, unblemished skins. Cut into pieces approx. 2″ long and ½” wide.
In a skillet or wok, heat olive oil on med. high heat. When the oil is hot, add eggplant. Saute eggplant 5-7 minutes. The eggplant will soak up the oil, so add more oil as needed or desired. Saute until the eggplant colors and begins to soften and then remove eggplant from the skillet. In the same hot skillet, add sesame oil and heat. Add garlic, hot pepper, and cashew nuts (or sub peanuts). Saute for 1 minute or until garlic colors. Add sauce and green onion bottoms. Stir sauce slowly. Because of the added corn starch, the sauce will quickly heat through, darken, and thicken. When the sauce has thicken to a a gravy/syrup consistency, return the eggplant to the skillet. Mix well, then cover the skillet and allow to simmer until the eggplant has finished cooking, 3-5 minutes depending on the size of the eggplant pieces. Stir in green onion tops. Fresh chopped cilantro also adds an excellent taste and garnish.
And that’s a very tasty way to cook Chinese eggplant.
Serve with rice, or without rice…and enjoy.
And for a tasty General Tso’s Chicken Recipe, click the pic below.

general tso chicken
click pic for recipe

Thanks for checking the recipe out. If you liked it, click a few buttons below and share it with your friends, I appreciate it.
–Chef Buck

Share and Enjoy !


Chorizo Recipe — Cazuela de Chorizo!

Chorizo Sausage recipe

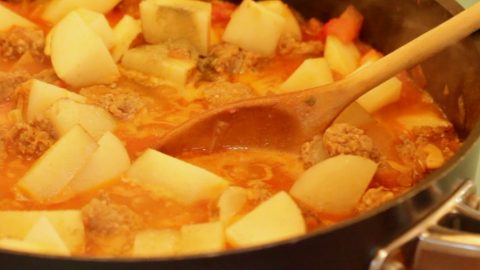
This spicy chorizo sausage recipe is a Spanish inspired meat and potato stew that is super-flavorful and delicious–and hearty, too.

What you need for this Chorizo Sausage Recipe

1 lb CHORIZO LINKS
3-4 Tbsp OLIVE OIL
1 lg ONION (chopped well)
4-5 cloves GARLIC (thinly sliced)
3 ROMA TOMATOES (diced)
3 lg POTATOES (cut into approx 1″ pieces)
14 oz can BROTH (add water as needed)
1 BAY LEAF
1 tsp SMOKED PAPRIKA
1 Tbsp CHILI POWDER
¼ tsp CAYENNE PEPPER
½ tsp ground THYME
SALT and PEPPER to taste

Chorizo Sausage recipe
Fresh Chorizo Sausage Links

How to make Cazuela de Chorizo

  • Heat olive oil on medium high heat in a deep skillet or wide-bottom pot.
  • Add onion and garlic and saute.
  • As the onion begins to soften, add bay leaf, salt, chili powder, cayene pepper, and paprika.
  • Stir well and continue sauteing ingredients for 4-5 minutes.
  • Add chorizo sausage–use UNCOOKED chorizo links; slice the links in the casing, about ½ inch wide pieces.
  • Cook the sausage with the onions for 5 minutes and then add tomato (3 diced roma tomatoes or 14oz can diced tomatoes).
  • Mix tomato with onion and then add potato. I like to leave the skin on the potato mainly because it tastes GOOD. And then you don’t have to peel the potatoes either, which is good, too. The potato should be cut up into good sizes, about 1″ pieces, so that you’ll have some good chunks of potato after the dish stews.
  • Cover the skillet and bring the dish up to a bubble.
  • Reduce the heat to a simmer and add dried thyme.
  • Cover, and let simmer for about 30 minutes or until the potatoes are cooked through–stirring occasionally as needed.

Give it a taste and add a little more salt and seasoning as desired. Garnish this chorizo recipe with fresh chopped parsley, cilantro, or green onion…and enjoy!

Chorizo Sausage recipe
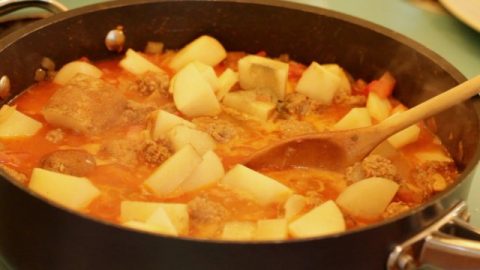
Spicy Chorizo Sausage Stew

If you don’t have a big skillet or pot, here’s a link to check out check out current prices for a BIG STEW POT on Amazon.

For another great stew idea, check out this vegetarian alternative, a Meatless Chili Recipe that even meat lovers will love.

vegetarian chili
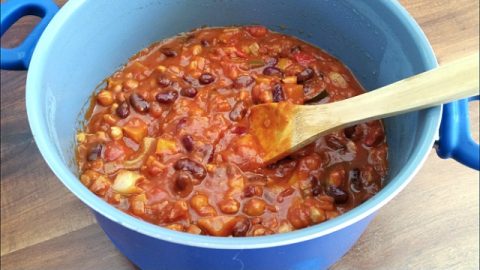
pot o’ meatless chili for good times

Thanks for Watching our Chorizo Sausage Recipe Video!

Click a button below and share the dishes with your friends. You can also follow Chef Buck on Youtube. We appreciate all the kind comments and support, and we’ll see you next time in the kitchen!

If you like what CG and I do, support us on Patreon, or throw us a tip in our Paypal Tip Jar. We’ll happily enjoy a coffee on the road – Thanks! We appreciate all the support, and we’ll see you next time in the kitchen!

We include affiliate links for products on our website. Making a purchase after clicking on our links and we may earn a commission which helps us produce more videos and drink more coffee :^) We participate in the Amazon Services LLC Associates Program, which is an affiliate advertising program. It provides a means for us to earn fees by linking to Amazon.com and affiliated sites, so we can make more videos.

Share and Enjoy !

Creamy Shrimp Curry Recipe –quick and easy with a yogurt sauce

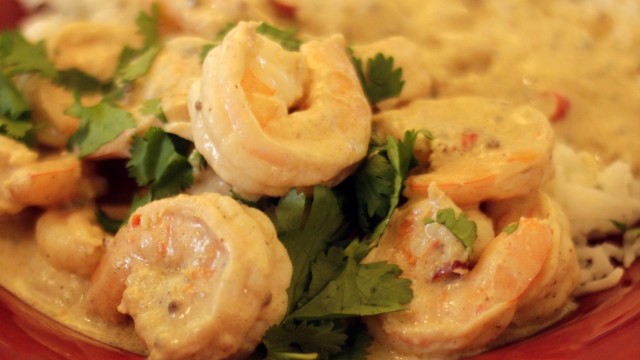
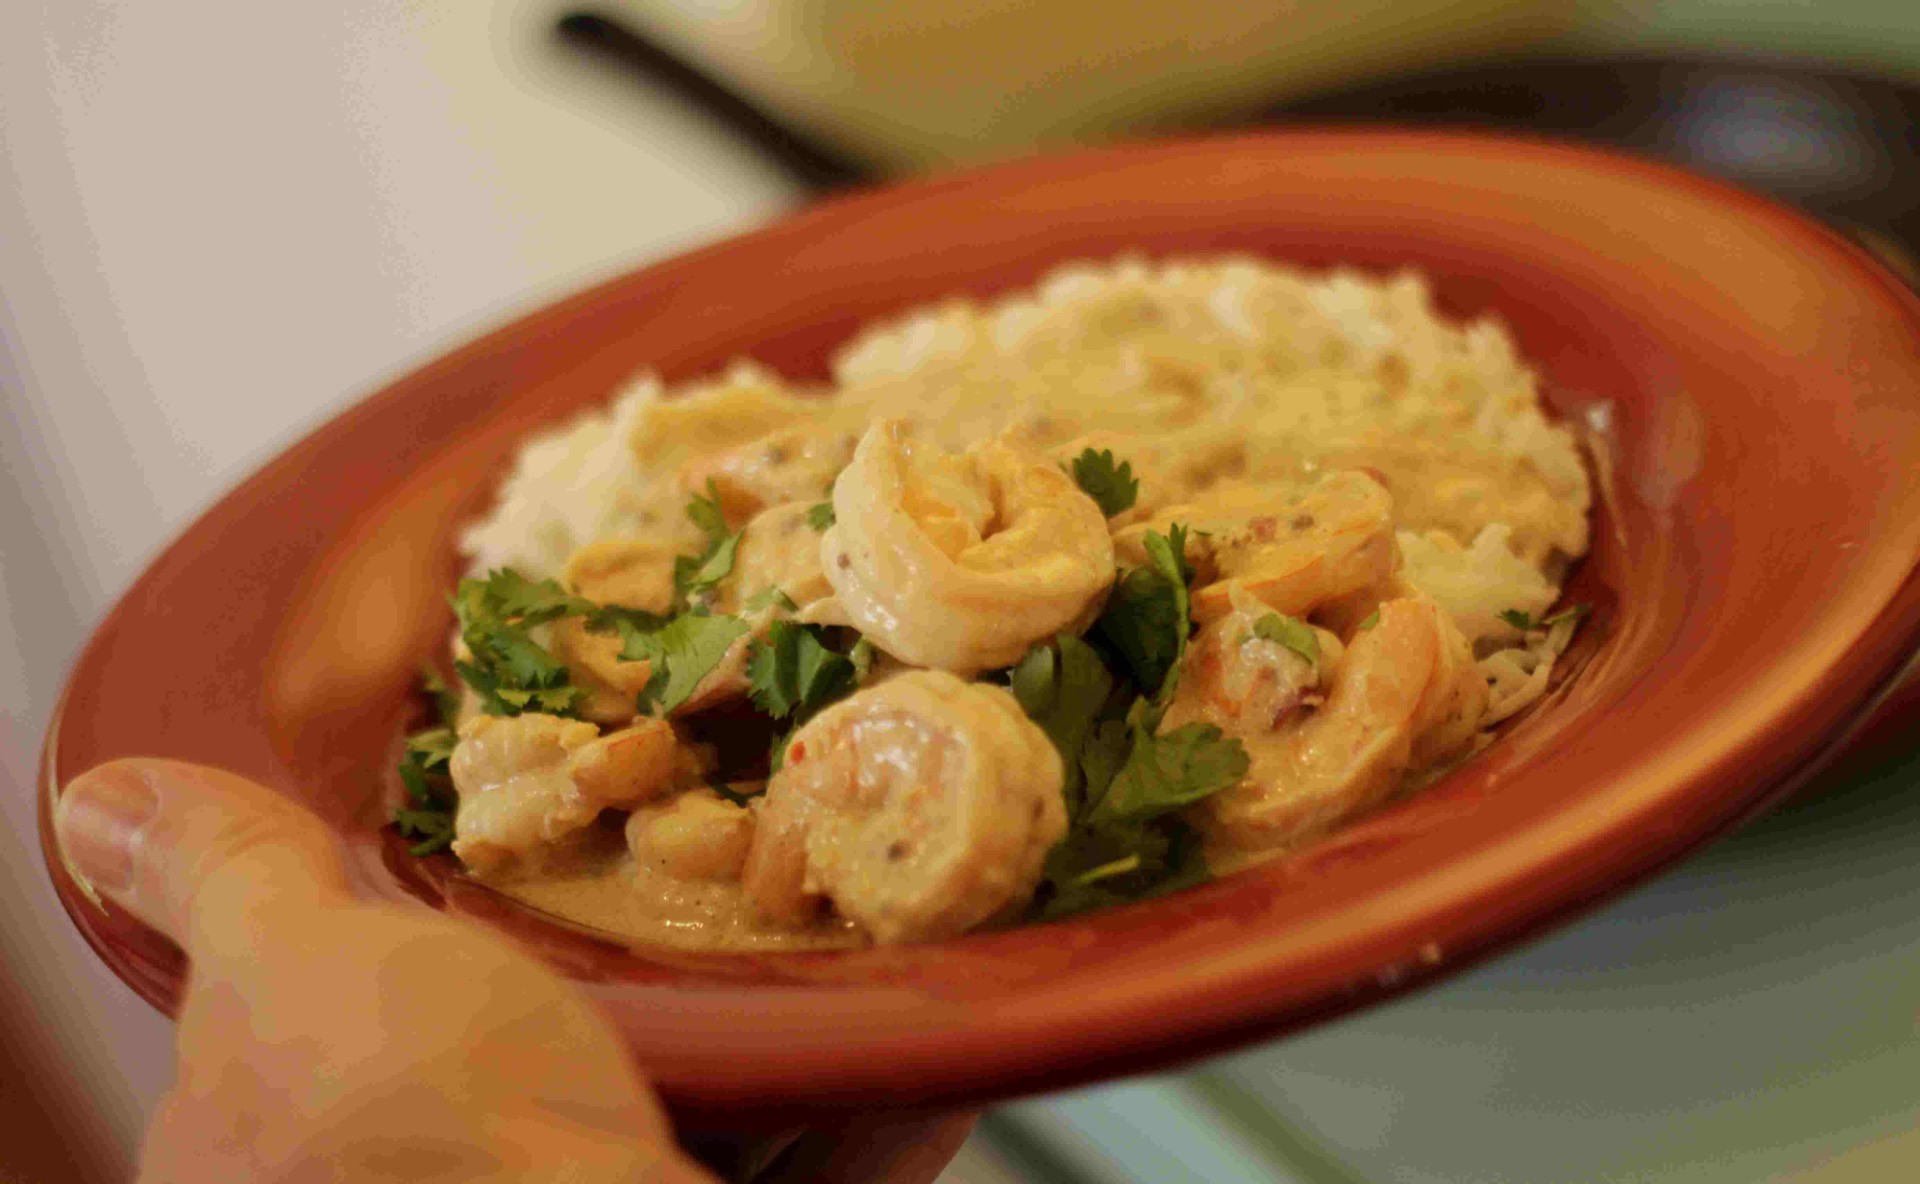
creamy shrimp curry

Try this quick, creamy shrimp curry recipe for a change of taste. It’s super fast to prepare and kinda/sorta healthy–I usually serve this shrimp curry with rice and top with fresh chopped cilantro. Don’t be shy adding hot peppers, since the yogurt sauce and rice will absorb a lot of any heat added.

SHRIMP CURRY RECIPE
ingredients:
1 to 1½ lbs SHRIMP (peeled/deveined)
2-3 Tbsp OLIVE OIL
2 tsp MUSTARD SEEDS
2 chili peppers (chopped, or sub red pepper flakes)
1 cup plain Greek YOGURT
¼ tsp ground CINNAMON
¼ tsp ground CLOVE
½ tsp CARDAMOM
1½ tsp MANGO POWDER
2 tsp CORIANDER
½ tsp CORN STARCH
SALT to taste
CILANTRO (chopped)
serve w/ RICE

shrimp curry recipe
Creamy Shrimp Curry Recipe

In a small bowl, combine Greek yogurt with cinnamon, clove, cardamom, mango powder, coriander, and corn starch. Mix ingredients well until the yogurt is smooth. Heat olive oil in a skillet and add mustard seeds and finely chopped peppers. Use as much or little pepper as you like–if you’ve got fresh peppers that’s great, but red pepper flakes make a decent substitute. After 1 minute, add yogurt sauce to the skillet. Stir well and bring to a light bubble and let simmer 2 minutes. Adjust stovetop temperature as needed. Add shrimp, already peeled and deveined. Mix with sauce and return skillet to a simmer. Let cook 4-5 minutes, stirring as needed, until shrimp are pink and done–try not to overcook your shrimp ’cause that’s sad.
Salt dish as desired and remove from heat. Garnish with fresh chopped cilantro and serve with rice. It’s best to cook your rice ahead of time, since this creamy shrimp curry takes very little time to prepare. Give it a try and let me know what you think, and bon appetit!

For another tasty shrimp dish, give SPICY FRIED SHRIMP a try.

Share and Enjoy !


Spicy Crispy Chickpea Recipe -great salad topping!

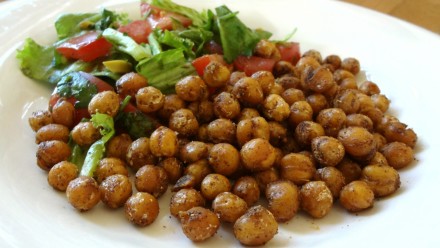
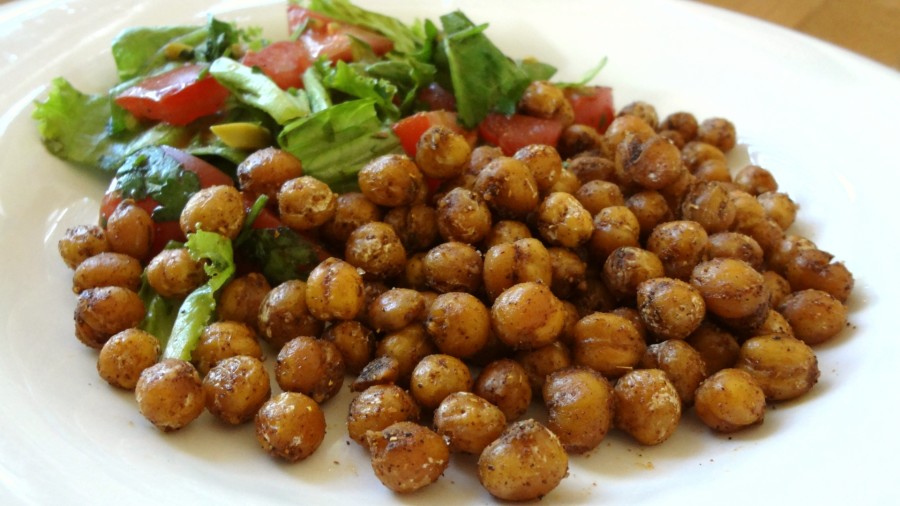
Here’s a quick, spicy chickpea recipe that makes a great salad topping and a so-so snack; it’s a lot easier on your teeth than baked chickpea snacks, which I find to be almost inedible (they tend to turn into tiny rocks).

ingredients:
15 oz can CHICKPEAS
2-3 Tbsp OLIVE OIL
½ tsp CURRY POWDER
½ tsp CUMIN
½ tsp PAPRIKA
dash CAYENNE PEPPER
SALT to taste

chickpea recipe

Rinse and drain a 15oz can of chickpeas (garbanzo beans). In a skillet, heat olive oil on medium heat. When the oil is hot, add chickpeas–be sure that they are drained well, since water and hot oil definitely do not mix. Saute chickpeas for 10-15 minutes; obviously, the longer they’re in the skillet, the crispier they will get, but it’ll take about 15 minutes to get them “crispy”. Once the chickpeas get near the doneness you desire, add salt, pepper, and spices. The spice combo in the recipe works well, but experiment with whatever spices you have–and don’t be shy with the spices–spice really makes this recipe work, and a good deal of the spice you use will remain in the skillet when you remove the chickpeas. Saute chickpeas and spices another 2-3 minutes and then remove from the heat.
Use them as a salad topping instead of croutons for a healthy crunch, or a just tasty snack, something to nibble on besides potato chips.
Enjoy!

Ever try Chickpea Curry(chana masala)? It’s a terrific Indian chickpea dish.

Share and Enjoy !


Asparagus Recipe — Tangy Lemon Ginger Asparagus

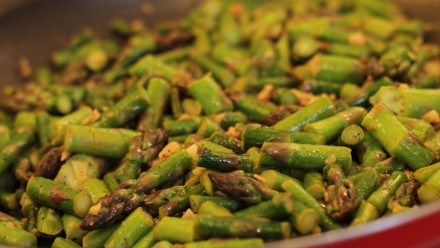
Asparagus is one of those veggies you cook when you’re trying to impress–and this asparagus recipe will do the job. The lemon adds a nice zing while the whole fennel/mustard seeds add flavor and texture without overpowering the great taste of asparagus.

Asparagus Recipe Ingredients:
1½ lb. ASPARAGUS
1 small LEMON (zest and juice)
2 Tbsp OLIVE OIL
½ tsp FENNEL SEEDS
½ tsp MUSTARD SEEDS
3-4 cloves GARLIC (or more…go for it, dude)
1 inch GINGER (which should end up being between 1-2 Tbsp thinly sliced)
SALT and PEPPER to taste

When buying asparagus, thin is better than thick. Choose firm spears. Avoid asparagus that have a wrinkled skin, or tips that are wet and greasy looking. Rinse and drain the asparagus spears, then chop into 1 inch pieces. When slicing, leave the tops of the spears intact so they don’t fall apart while cooking. Heat olive oil on medium heat in a skillet. When oil is hot, add mustard and fennel seeds and stir for 20-30 seconds–not long at all. Add garlic and ginger–a lot of ginger; I use about 1 inch, thinly sliced–about the size of a fish scale. Stir skillet 1 minute, lower heat if necessary.
Stir in asparagus. Add salt and pepper to taste. I like my asparagus to retain a bit of crunch–who likes mushy asparagus?–so this dish doesn’t take long to cook. Saute for about 4 minutes and the dish will be done. From the time you add the seeds to completion, the cooking time will only be about 5 minutes–of course you can extend the cooking time if YOU DO like softer asparagus (crazy!)–but everybody likes what they like, so namaste, man. About a minute before the dish is done, add the lemon zest. When the asparagus is crunchy or soft the way you like it, and you’re ready to get it off the heat, add the lemon juice, stir, and serve.
It’s a tasty asparagus dish and a perfect side for a nice steak (or whatever).
Give this asparagus recipe a try and let me know what you think, and bon appétit!

If you enjoy asparagus, you likely love this Brussels Sprouts Recipe.
brussels sprouts

Share and Enjoy !


Follow Me!